Sewing for small people
Within the last two weeks, two of my friends welcomed tiny daughters to the world. While I'm delighted for them both, I also loved the fact it gave me an excuse to make tiny clothes!
First, I made another Seaside Sailor Dress as I absolutely adored the first one I made. The fabric for this dress came completely out of my stash. I used some of the left over peacock cotton lawn for the dress and lining and a thick white cotton for the collar with the lawn as the under layer. The dress has nine pieces in total - six for the bodice, which is amazing for how small it is! The skirt is a small rectangle that is gathered at the waistband.
I used the same embroidery stitch on the collar as I did on the first. Annoyingly the machine skipped a few stitches which meant I had to fill in the gaps by hand. I chose an ivory thread for the button holes as the light blue one I had hoped to use kept breaking midway through. I think they match the buttons pretty well and compliment the colours in the feathers.
The dress is 3-6 months. I had enough fabric to go up a size but with spring and summer on the way, it seemed sensible to chose a size that the baby could wear during those months. If you're looking for a very quick pattern which offers a wide range of customisation options that I would really recommend this one. It is so quick to cut and sew.
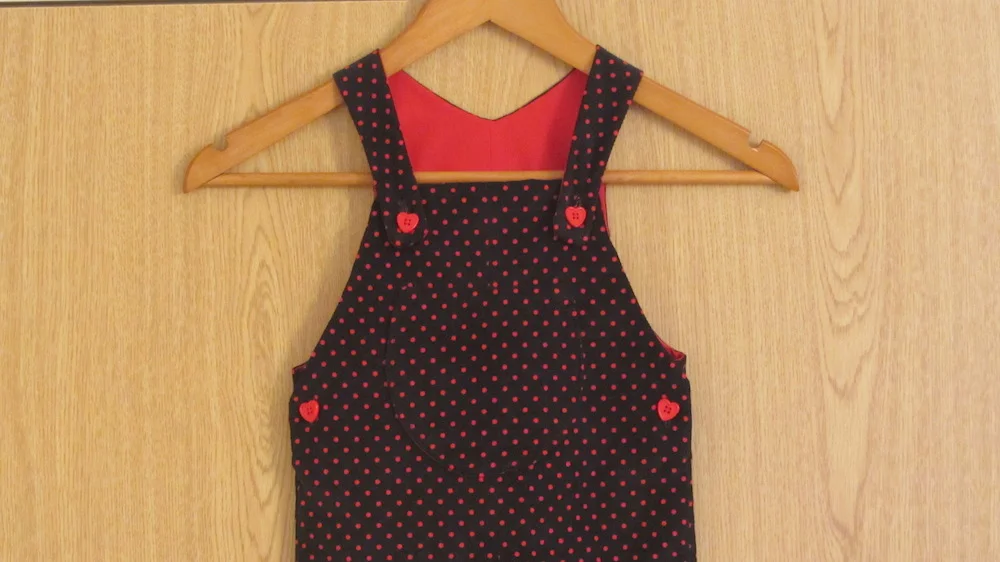
I chose a very different pattern and look for the other baby. I loved the Little Bird Romper pattern from Puperita that Kelly made last year and as this little girl will be growing up on a farm, dungarees seemed a perfect idea! I bought some lovely, soft black and red polka dot needlecord from Darn It and Stitch (they have a wonderful range of bright colours as well) and a bright red cotton for the lining.
This pair is aged 6 months and I managed to get the full pattern comfortably out of a meter of each fabric, even taking into account the nap of the needlecord. Construction wise, this is fairly simple and the instructions are clear. The only time I got confused was when I turned the pockets through - it didn't say what to do with the gap so I slipstitched them closed before edge stitching them into place. The front features one large pocket, while the back has two smaller ones - they are quite hard to see in the pictures as I somehow managed to almost match the dots. I promise they really are there. The dungarees are fully lined and interfacing is only needed for the leg bands.
I was a little worried about sewing with the needlecord as I didn't want to crush it. It went through the machine ok and survived light pressing but didn't hold up so well when I created the buttonholes. You can't really see the marks but I know there are there! The cotton, though, caused me some alarm. When I pressed it, it turned a very dark red even at a low temperature. It lasted about 10 minutes before returning to its original colour. I used the left over heart buttons that I used on my Mathilde as they match the red dots and lining perfectly.
I love both of these outfits but I just can't stop stroking the needlecord. It really is that soft! I just hope it is hardwearing enough. They are now safely packaged up to be posted on Monday and sadly that marks the end of my dose of sewing for tiny people for a while.


