Quart Coat Part Two: Completion
Have you ever worked on a project that seems to take forever to prepare that you swear it will take you weeks to finish and then all of a sudden you have a finished item? My Quart Coat is one of those projects.
As with any big project, it takes a long time to prepare the fabric, cut out the pieces, transfer your markings before you even get to your machine. Add in a large PDF pattern to assemble and I think I spent about five-six hours just preparing to sew. I chose the immediacy of the PDF pattern just in case winter planned to leave early and therefore not giving me much time to enjoy the finished item. I shouldn't have worried - winter is still definitely here! The pattern lines up beautifully when you're taping it together. It is actually perfect and that's really important when a pattern checks in at a whopping 50 pages!
Size wise, this coat fits very well. Other than my standard grading out for the waist and back in at the hips, I didn't make any alterations. There is enough ease in the sleeves to have a 40 minute phone call without your blood circulation being cut off. The collar is perhaps a little high and would sit better if I shaved off about a centimetre but that's a very minor detail. I wasn't sure about the length as my other winter coats are longer. It fine though - my legs don't get that cold and my skirts are no longer getting caught on the lining.
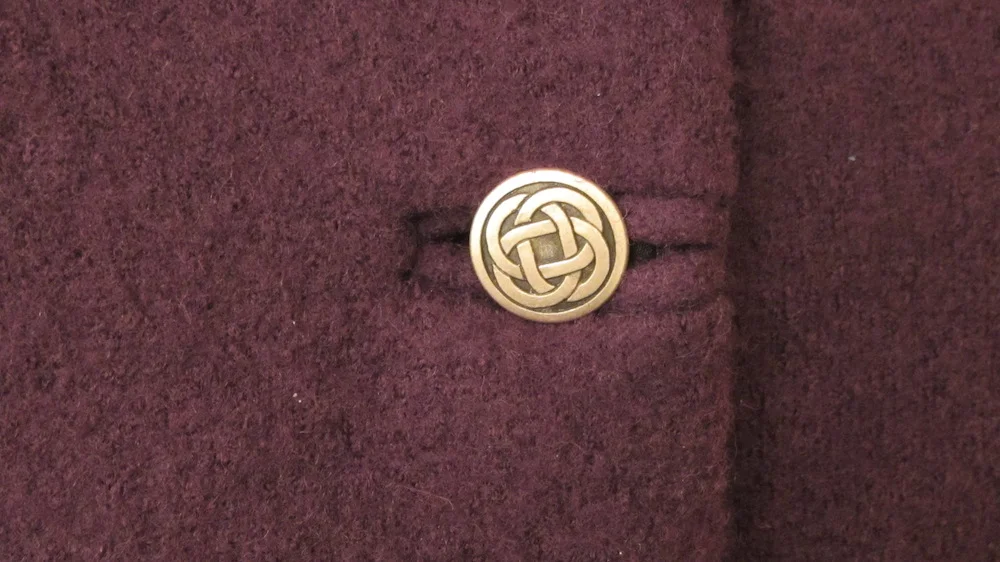
This pattern calls for a lot detailed and precise sewing. I chose to make bound button holes which are my preferred button hole on jackets and coats. I needed some guiding through this part as I was a little rusty on the technique. I followed Karen's ebook and it is absolutely fantastic. I would definitely recommend it to anyone looking to make these for the first time - I ended up with four perfect button holes. I would recommend creating the facing side of the button holes before you stitch the facing to the coat as indicated in the directions. This will save you pushing a large amount of fabric through the machine and the constant fear that the weight of the fabric might stretch it. Other areas that need precision include the zipped sleeves and the epaulettes. Marking my seam lines really helped with creating a neat finish.
Perhaps the most pleasing detail of the Quart is the side pleats. They are very easy to create and I left my hand basting in place until the coat was finished to ensure a clean finish. Creating in them in silk was harder though, for all of the reasons you would expect. A note on the amount of fabric you need for the lining - I got everything out of 3m with 80cm width. I didn't use the silk for the zipped sleeves or under the epaulettes but I would have had enough to. The colour contrast was just too strong and I used some black poly lining scraps.
Hand stitching makes several appearances. You need to stitch the lining to the zips on the sleeves and, of course, to add the buttons. Pauline provides two options for attaching the lining to the exterior. You can either bag it or hand stitch in place. I chose to hand stitch using the fell stitch as it gives you much more control. I found this part very satisfying as my stitches are almost invisible.
So the verdict after wearing it for a week? Without doubt, I love it! It is super toasty on frosty mornings and this alone justifies the price of the boiled wool. While I would rather have sunshine and bright days, I'm now okay if winter decides to stick around for longer!


