Yoga Mat Bag: a tutorial
How is your weekend going? I'm having a quiet one - I'll be mostly catching up with friends but I have squeezed in some sewing time to work on this scrap buster of a project.
I mentioned earlier this year that I have started to attend regular weekly yoga classes. I've been enjoying it so much that I have invested in a mat. I knew that I needed a bag as it's been a little tricky carrying just a rolled mat. I almost bought one at the time I purchased the mat but realised that I had all the materials at home to make my own. This has the double win of taking out a little more fabric from the study (which I still haven't summoned the courage to sort out) and is also more sustainable than buying. This bag cost me £2 purely because I ran out of top stitching thread.
I had a few essential needs when designing this bag:
Durability: I can be harsh on bags, especially when moving them from place to place, so I wanted something that could withstand this as well protect the mat. I was thinking canvas or similar.
Ease of use: I wanted a bag I could just drop the mat into and go. A draw string closure made more sense than a long zip up the middle of the bag. Given my preference for the outer fabrics and that the mat is "sticky" a smooth lining would be needed to allow the mat to slide into the bag.
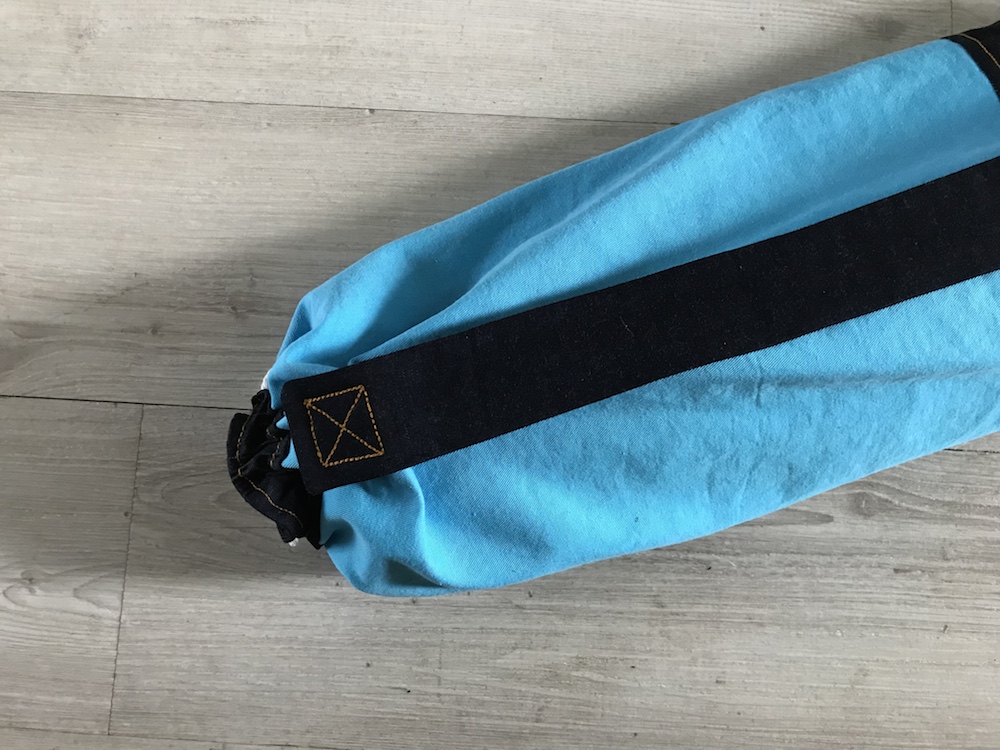
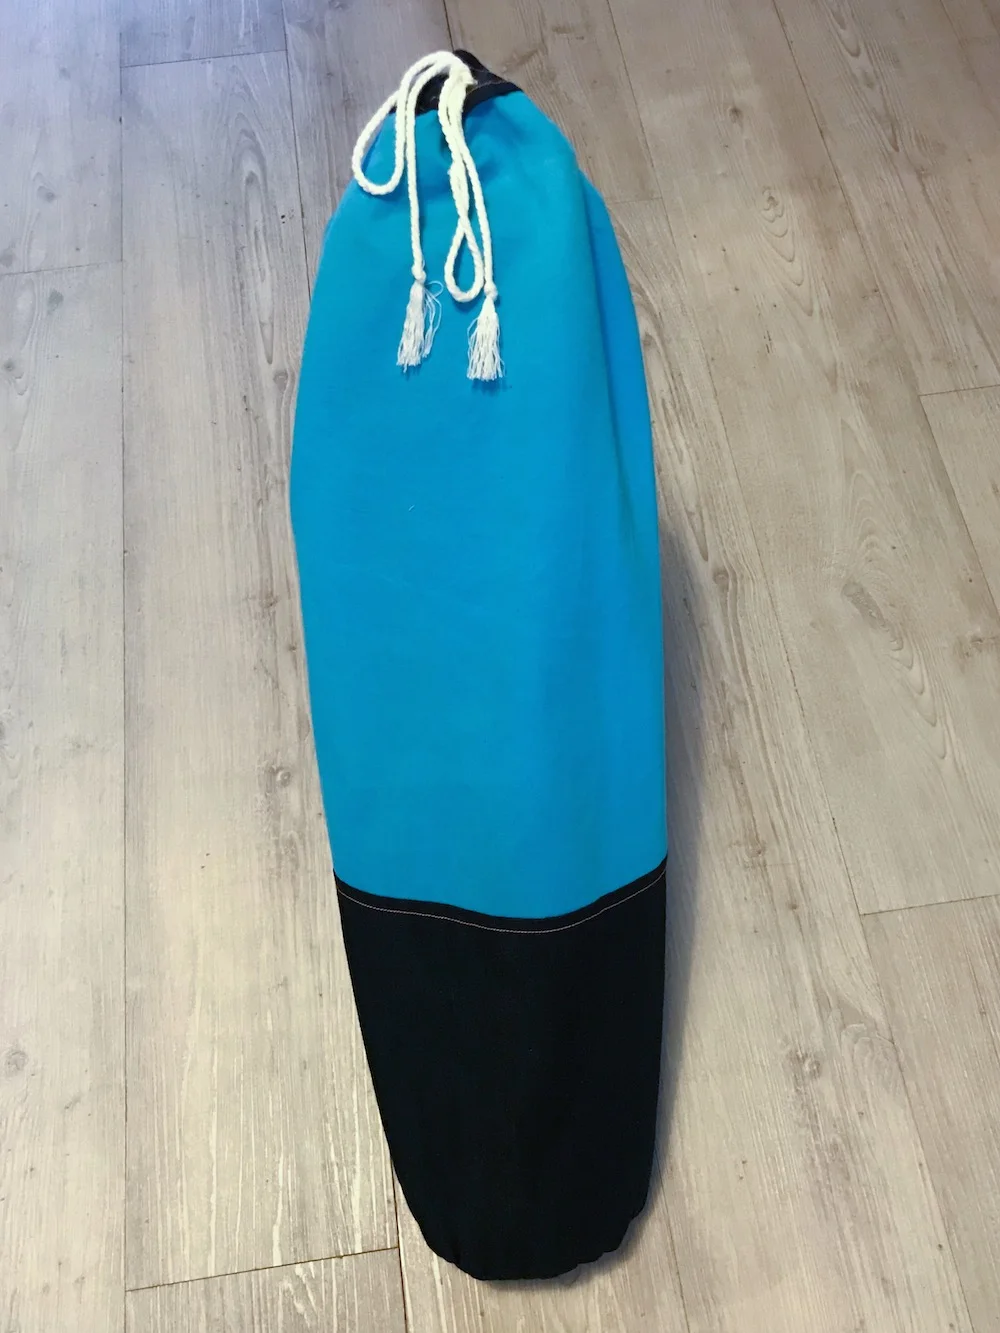
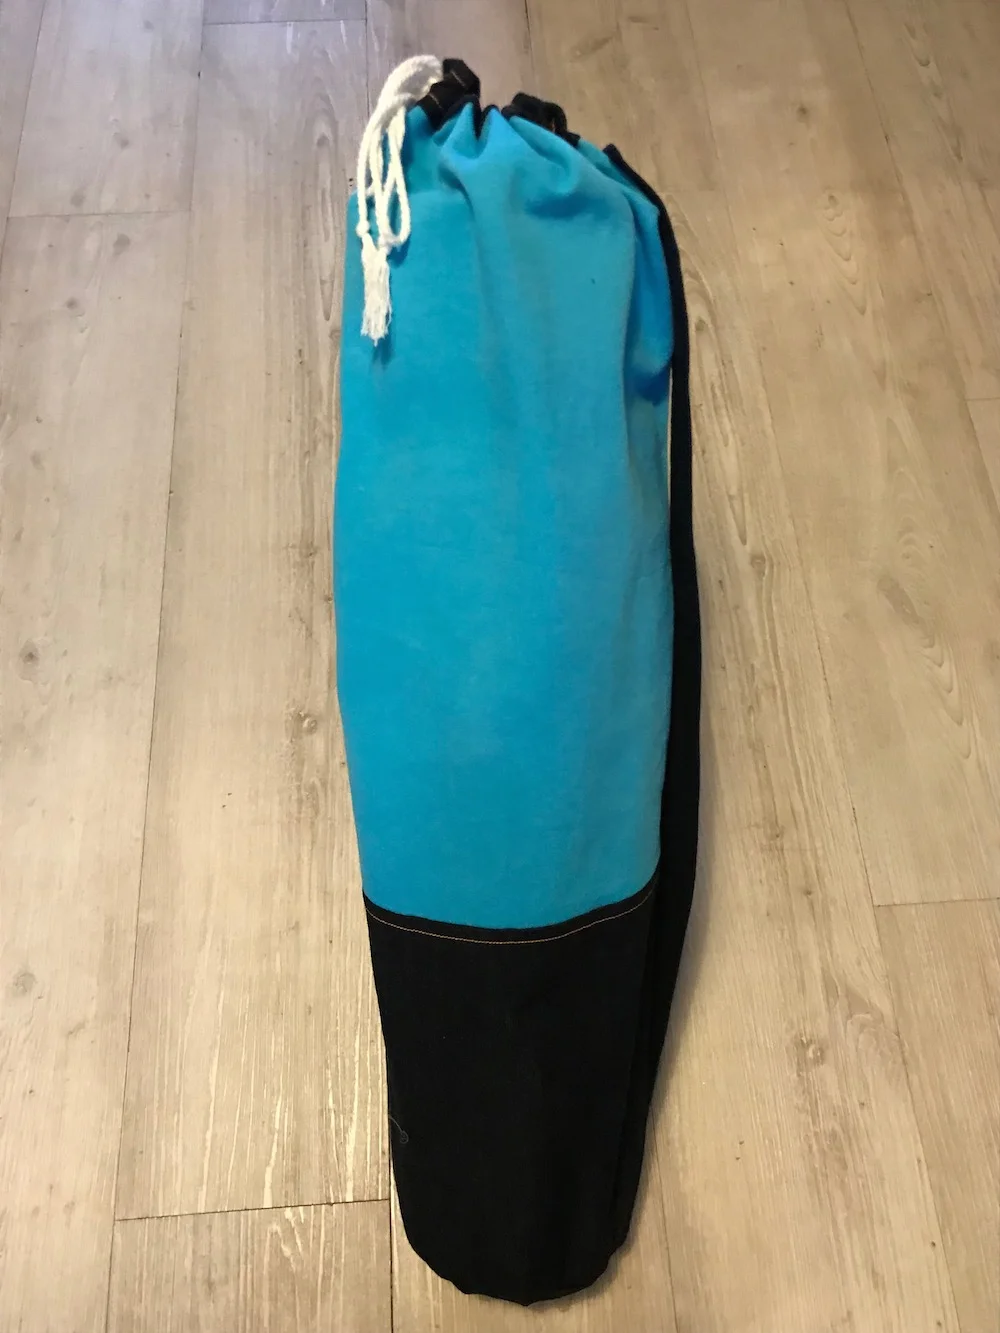
With all this is mind, I selected a turquoise cotton canvas and some left over denim from my Miette skirt for the outer fabrics. They look rather striking together and give the durability I wanted without being too heavy. The lining is made from a black poly satin. To give the bag some more interesting features, I added a denim band to the top and added the finishing touches with some select topstitching. I'm looking forward to a more straightforward journey on Monday!
I took some photos and thought I would share the my construction process in case you are interested in making your own.
Materials needed
Two circles to make the base. One in denim and one from the lining: 18cm diameter
A denim rectangle: 58cm x 27cm
A denim strip for the top of the bag: 58cm x 5cm
A cotton canvas rectangle: 58cm x 47cm
The strap in denim: 13cm x 70cm
A lining rectangle: 58cm x 73cm
Cord for the drawstring
How to make the bag
1. Stitch the denim rectangle to the canvas rectangle to create the main body of the bag. Finish the seam and press down towards the denim. Topstitch into place.
2. Stitch the long sides of the body to make a tube. Finish edges and press to one side.
3. Create two button holes in the denim strip that will go at the top of the bag. As a guide, I left 3-4cm between them.
4. Finish the lower end of the strip and press up the seam allowance. Pin around the top of the bag (right side of the canvas up) and topstitch the lower seam into place.
5. To create the strap, fold the piece in half and stitch along the long edge and one short edge. Back stitch in the corner for extra strength. Finish the seam and clip the stitched corner. Turn the strap out to the right side and press flat.
6. Fix the strap in place by positioning the finished end 1.5cm underneath the denim strip. Stitch into place. You may wish to stitch this part twice for added strength.
7. Keeping the strap straight, pin the unfinished edge to the bottom of the body.
8. Pin the denim circle base to the main body and stitch into place. You may need to slightly ease the body in to fit the circle. Finish seams.
9. Create the lining by following steps 2 and 8.
10. Add the cord to the top of the bag. Insert the cord through one button hole and work around the bag keeping the cord close to the bottom between the denim and canvas until you get to the other button hole.
11. Finish the top seams of the outer bag and the lining. Insert the outer bag into the lining, right sides together. Pin around the top and stitch using a 0.5cm seam allowance. Be sure to leave a 6-10cm gap so you can turn the bag through.
12. After turning the bag right sides out, push the lining down into the outer bag keeping the top edge smooth. Carefully fold under the seam allowance where the gap is and pin into place. Topstitch along the top to keep the lining in place and seal the gap. Be sure to keep the cord out of the way so you don't catch it.
13. Give your bag a final press. Add you yoga mat, pull the drawstring to close and finish with a bow. You're now ready to go to class!


