Making your own bias binding
I’ve been making a lot of bias binding recently. While there is nothing wrong with the stuff you can buy in the shops, none of them have quite matched the fabrics I have been using and there is something nice about creating your own. I generally use one of two methods, the continuous loop or the piecing method. The piecing method was my favourite until I mastered the potentially tricky step to join the sides in the continuous loop method. Anyone else have problems with it or was it just me?!
Here’s how to make about 100” of bias tape from a 10x10” piece of fabric. Although growing up with metric, for some reason I still use the imperial measurements for making this.
Step One
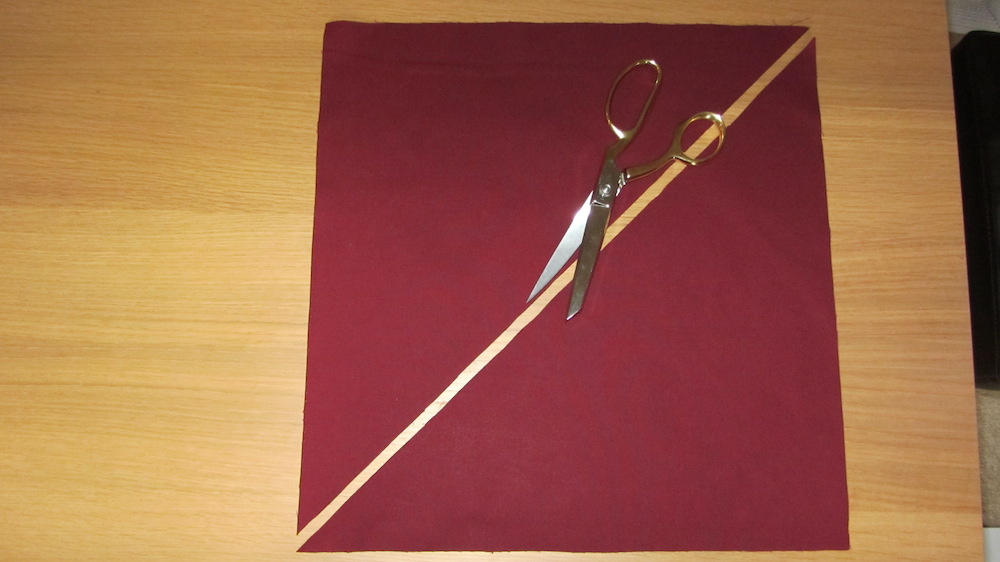
Cut out a 10x10” square of your chosen fabric. Fold it in half diagonally (along the bias) and cut along that line.
Step Two
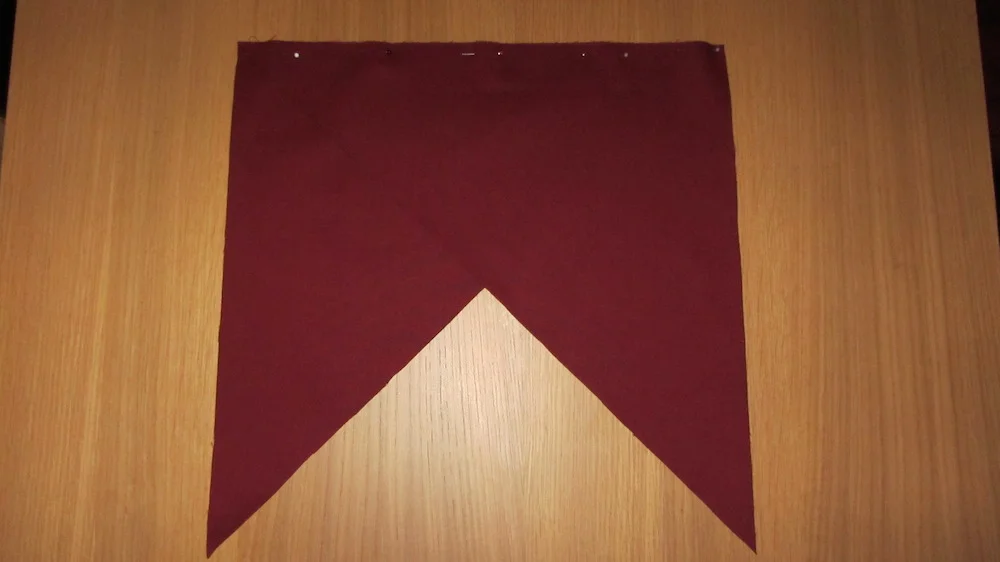
Lay one piece over the other, matching the sides not the diagonal line. Pin in place.
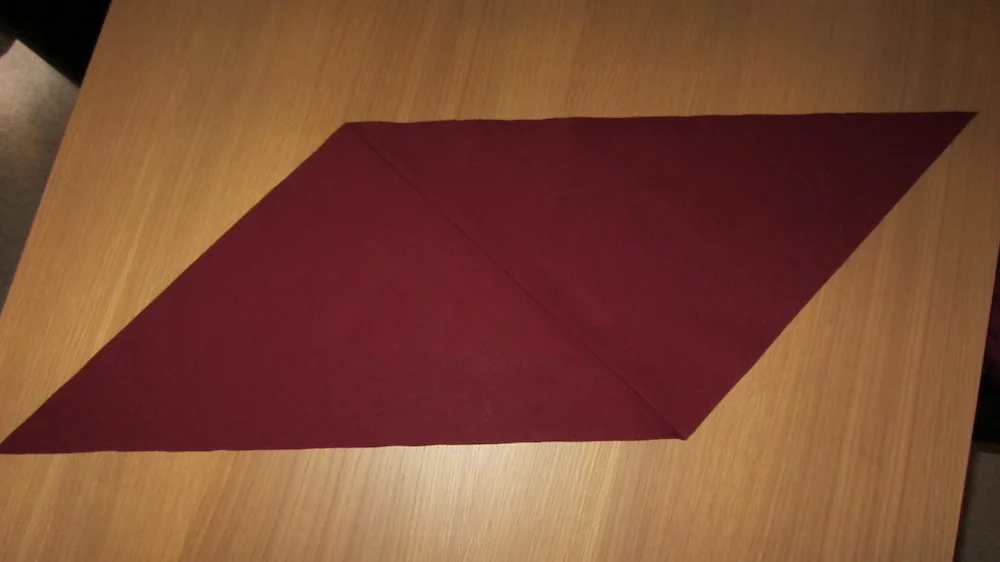
Edge stitch. Press open the seam. You should get a parallelogram like this.
Step Three
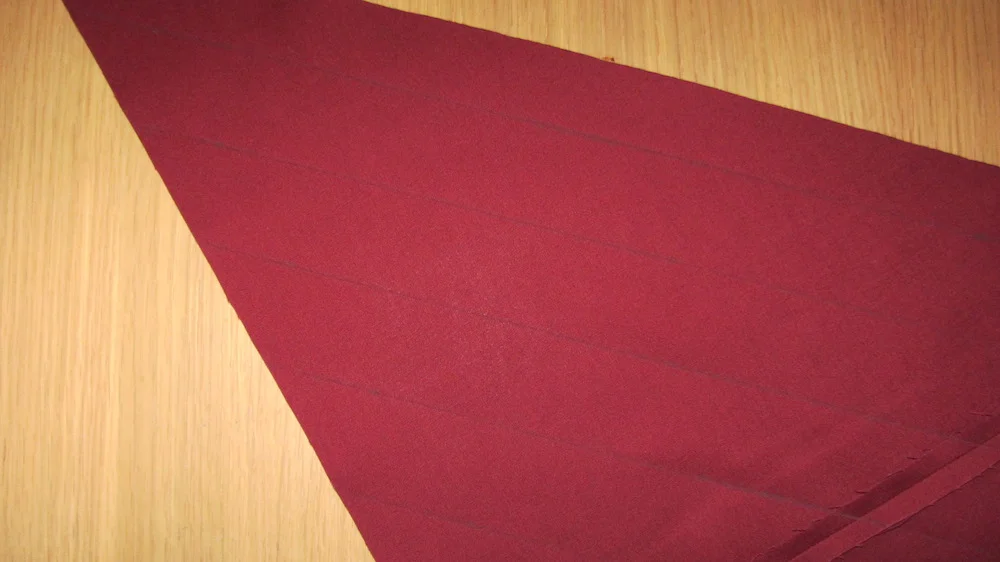
You now need to mark your cutting lines using chalk or a washable fabric pen and a ruler. Begin at the edge of the fabric and draw lines 1” apart. The lines should be diagonal and will be parallel to the edges. The more accurate you are here, the more tape you will make. Make sure you mark the wrong side of the fabric and leave your scissors alone at the moment!
Step Four
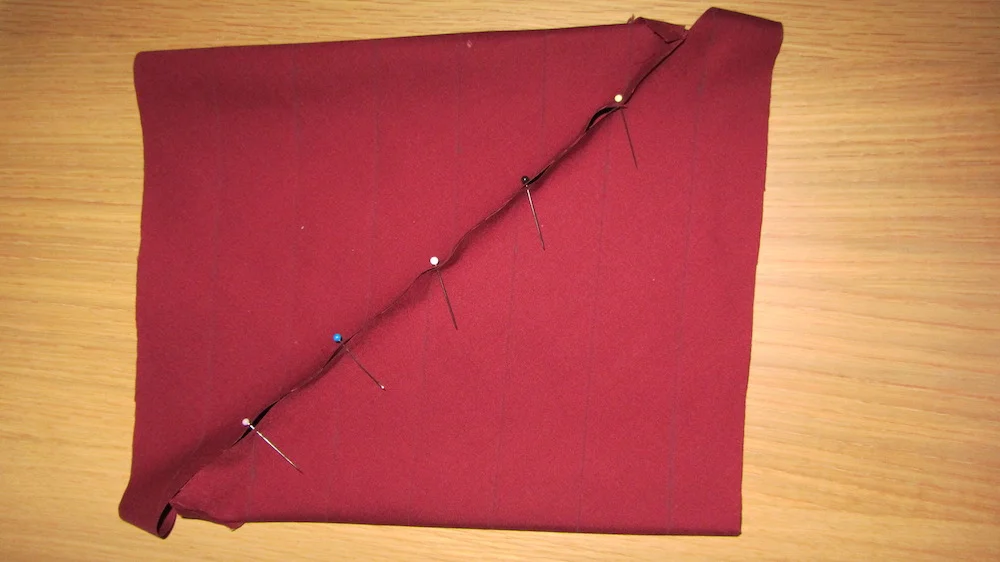
This is often the trickiest step. Fold the edges towards the middle to create a square with right sides together. Offset the marked lines by one and fold the tips under. It should look like this but with the tips folded under!
You now need to pin the lines in place. Make sure that the lines match up at the seam line (¼” in) and not at the edges. (This is the bit that took me a while to work out!) The easiest way to do this is to put a pin through the connecting lines ¼” in. Stitch a narrow ¼” hem then press the seam open. You should have a tube like shape.
Step Five
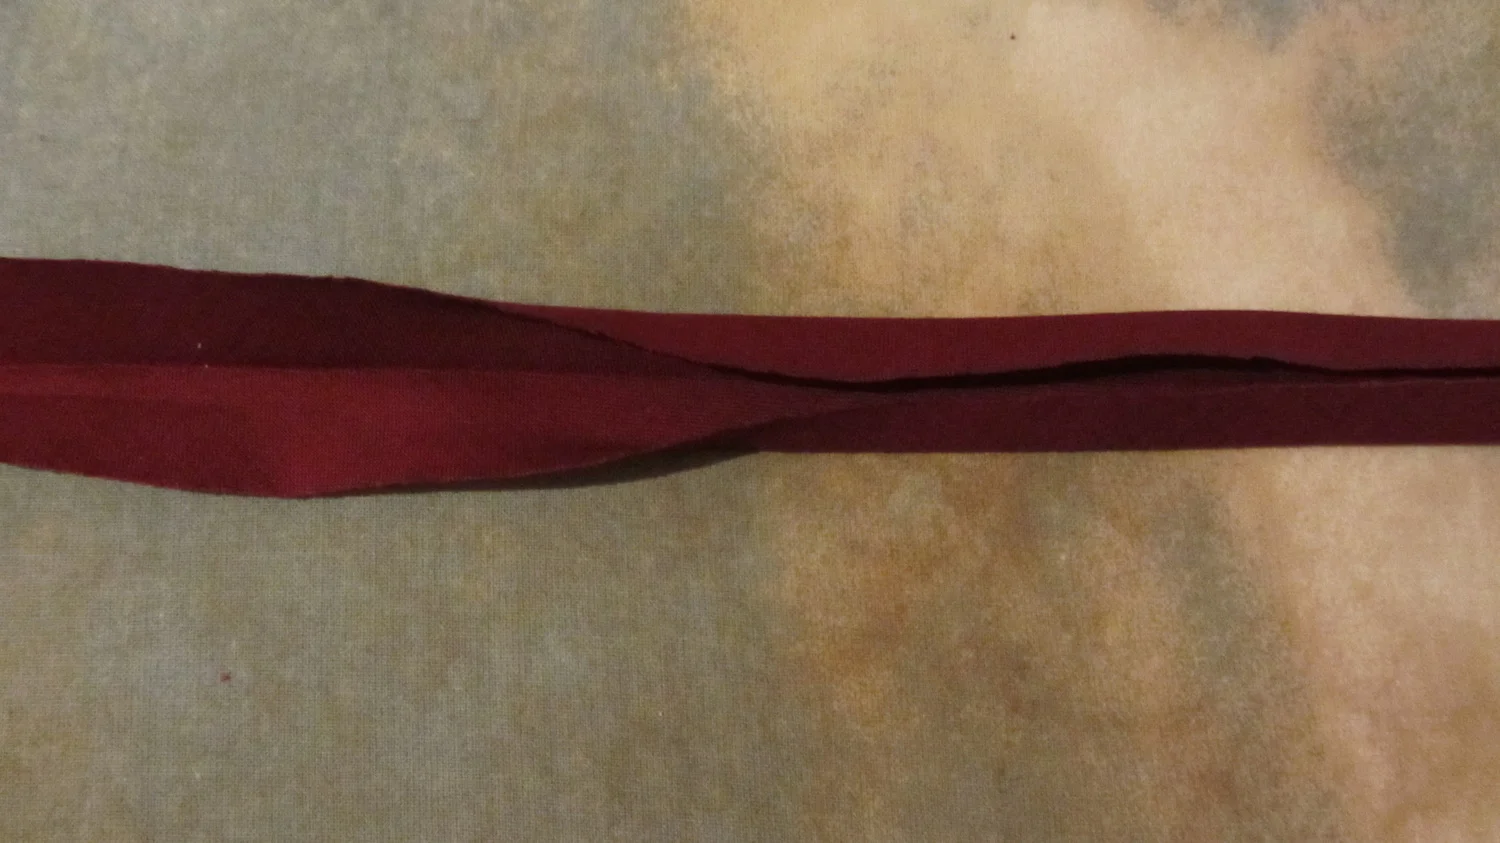
Time to pick up your scissors! Starting with the first offset row, carefully cut along your marked lines all the way to the end.
Step Six
If you have a bias tape maker, pass the strip through it while pressing the folds. If, like me, you don’t have one here is an alternative way. Press the strip in half and then lay the tape open. Fold in the edges to the centre fold and press. This may take a little longer but it works!
Please don't judge me on the state of our ironing board cover.
And there you have it! Beautiful handmade bias binding.
Do you have a preferred method or a different way of creating it?
