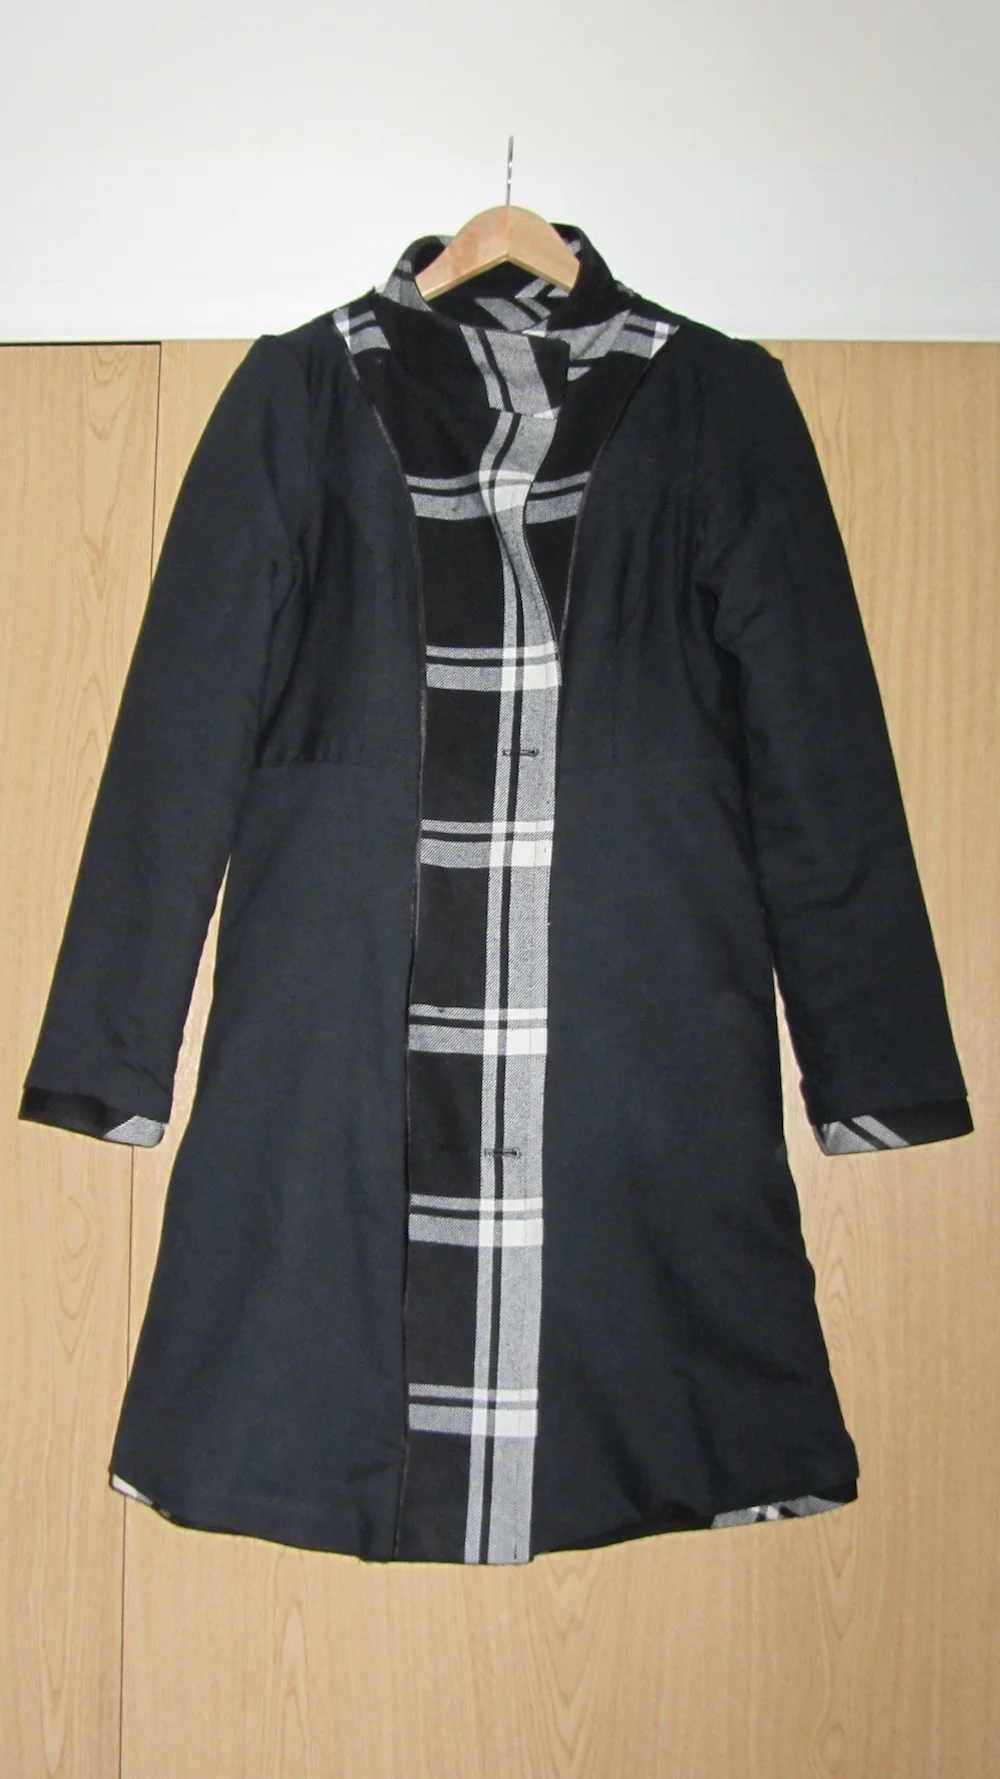
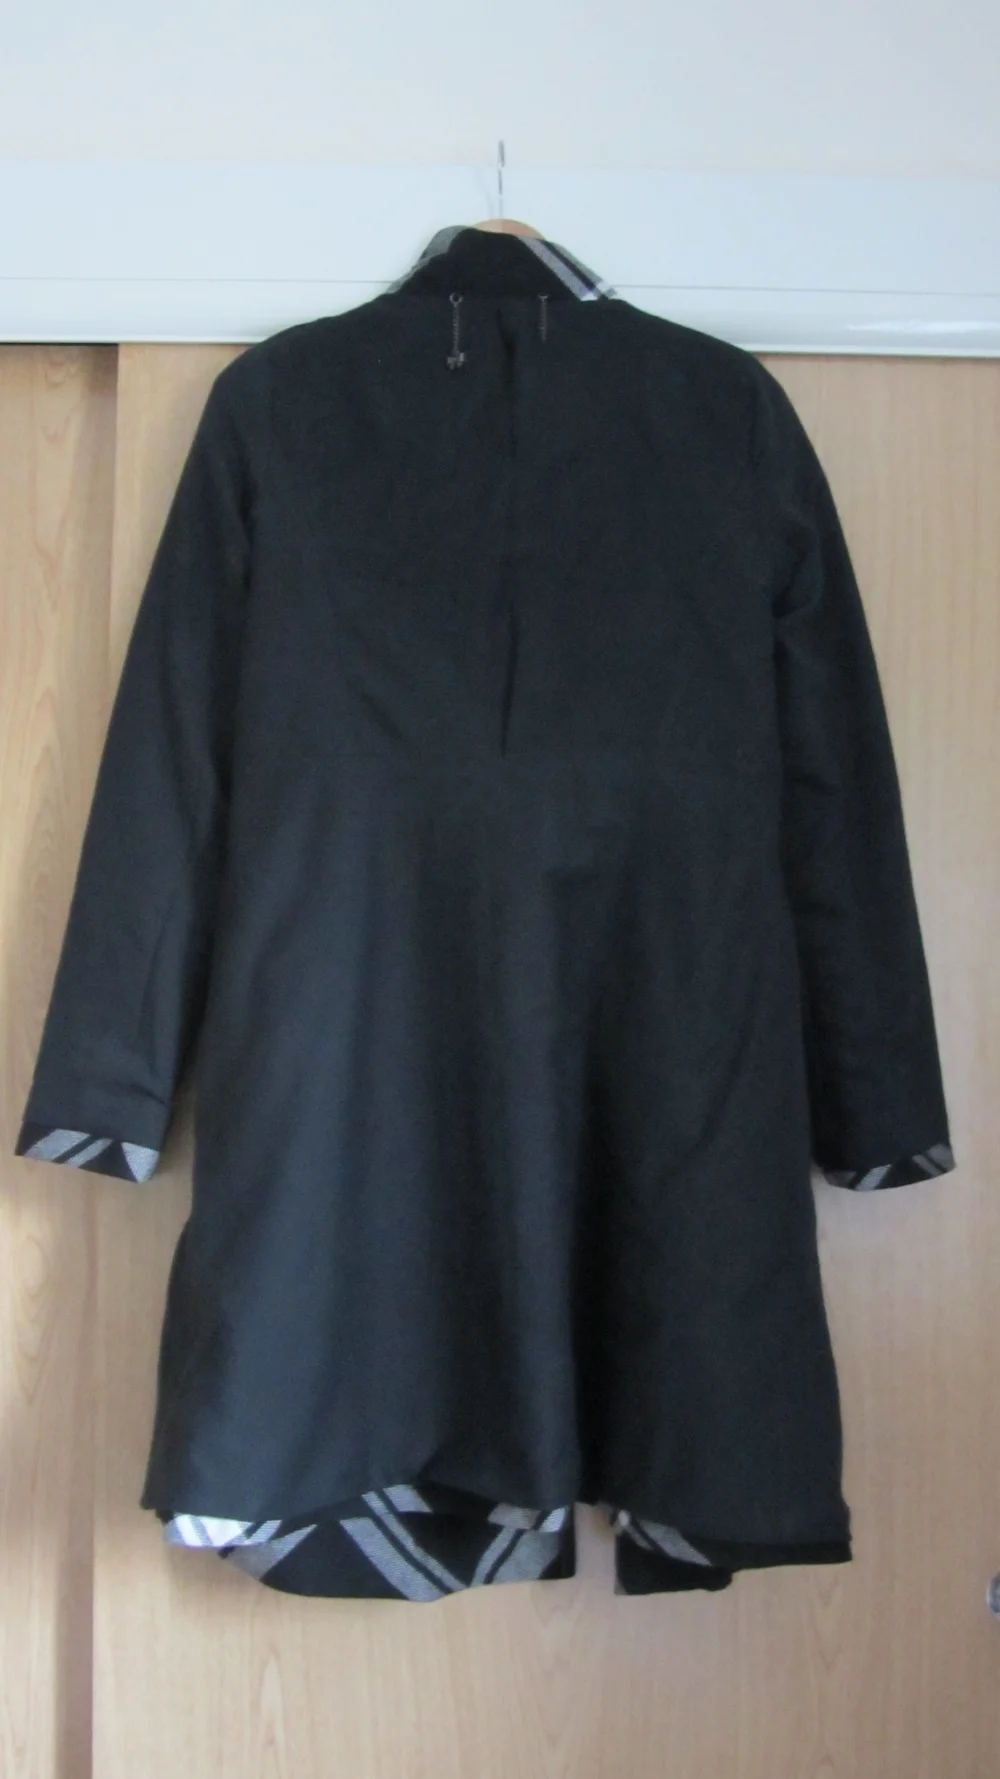
Mission complete
And what a mission it was! I completely underestimated just how long this would take - 8 hours from start to finish! In case you're not sure what I am talking about check out the last post. Turns out the lining for this coat is made up of 12 pieces! I didn't expect that and clearly I didn't look hard enough when I was working out how much fabric to buy.
Anyway, here's how I did it:
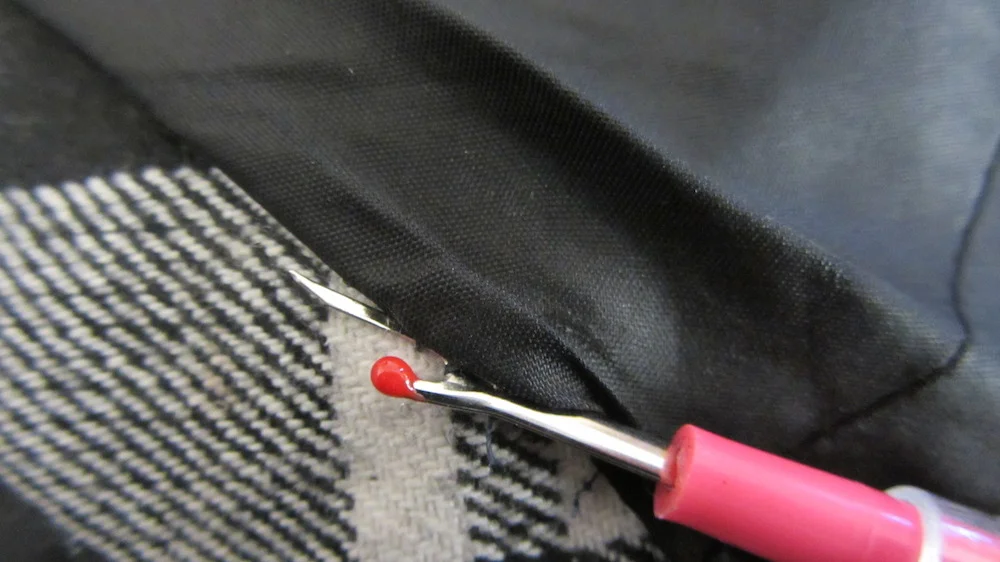
First, I took pictures of how the lining was attached to act as a reference when it came to inserting the new lining. I then removed the original lining from the coat using a seam ripper (one my biggest friends in sewing!) Unpicking the sides took a while as there is a ribbon trim that I wanted to keep. I ended up ripping the fabric away from the collar as I got bored by this point. If you're going to do this yourself I would recommend unpicking as it is neater.
Once I had the unlined coat and the lining shell, I unpicked the individual pieces for half of the lining to use as my pattern. This is where I discovered the number of pieces! I had hoped that I could just slice the lining up the centre back line and work with about four pieces but never mind...
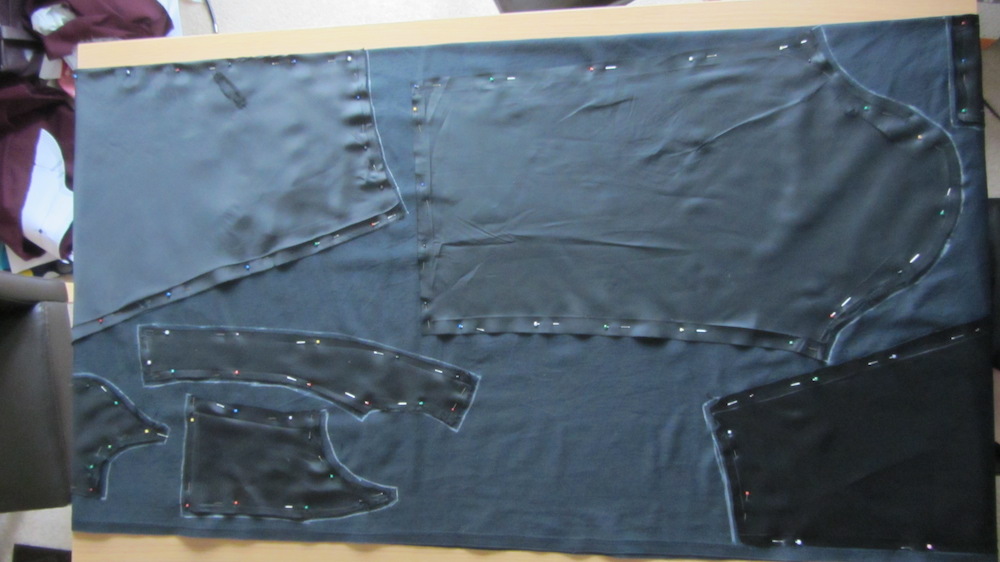
I laid out the pieces on my new lining fabric, pinning the centre back pieces on the fold. (Please ignore the mess in the corner of the picture)
Many of the seam allowances looked like the had been trimmed so I marked a 5/8 inch seam allowance around each piece with tailor's chalk. I cut along the marked lines for each piece.
Now I could start stitching. Luckily I had numbered the original pieces so I knew which order to sew the top section. You could use the other half of your lining or the photos for reference. I started with the pleat in the centre back and the rest came together very easily. Suddenly I had this:
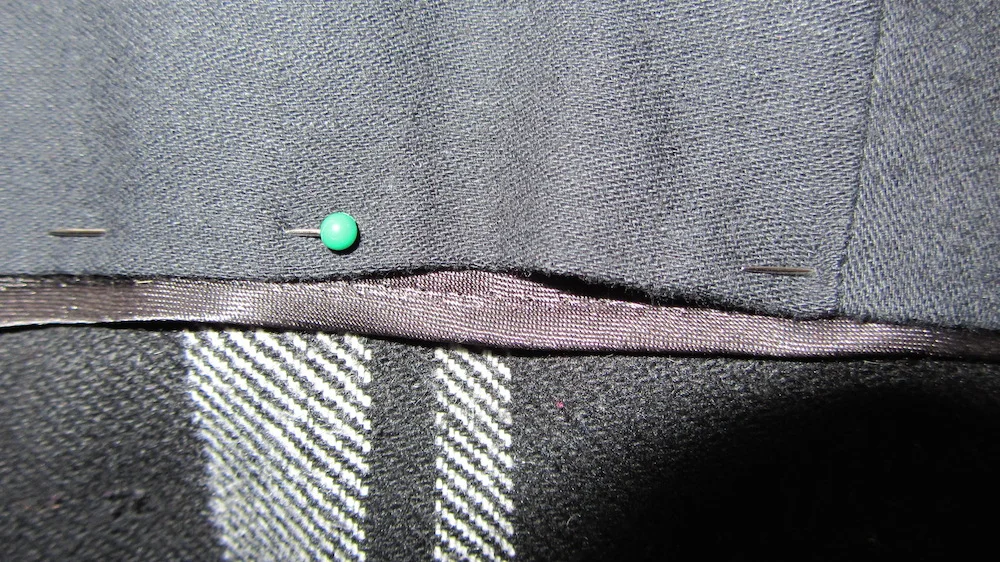
I pressed under the seam allowances for the sleeves and the body hem. It was now time to join the lining to the coat and progress slowed. I pinned the lining to the front of the facings with the ribbon I had saved. After stitching in the lining I had to slip stitch the lining to the ribbons as the lining was lifting up a little too much. Apologies for the photo, I couldn't get a clear shot of black and brown together except with the flash which made it all shiny.
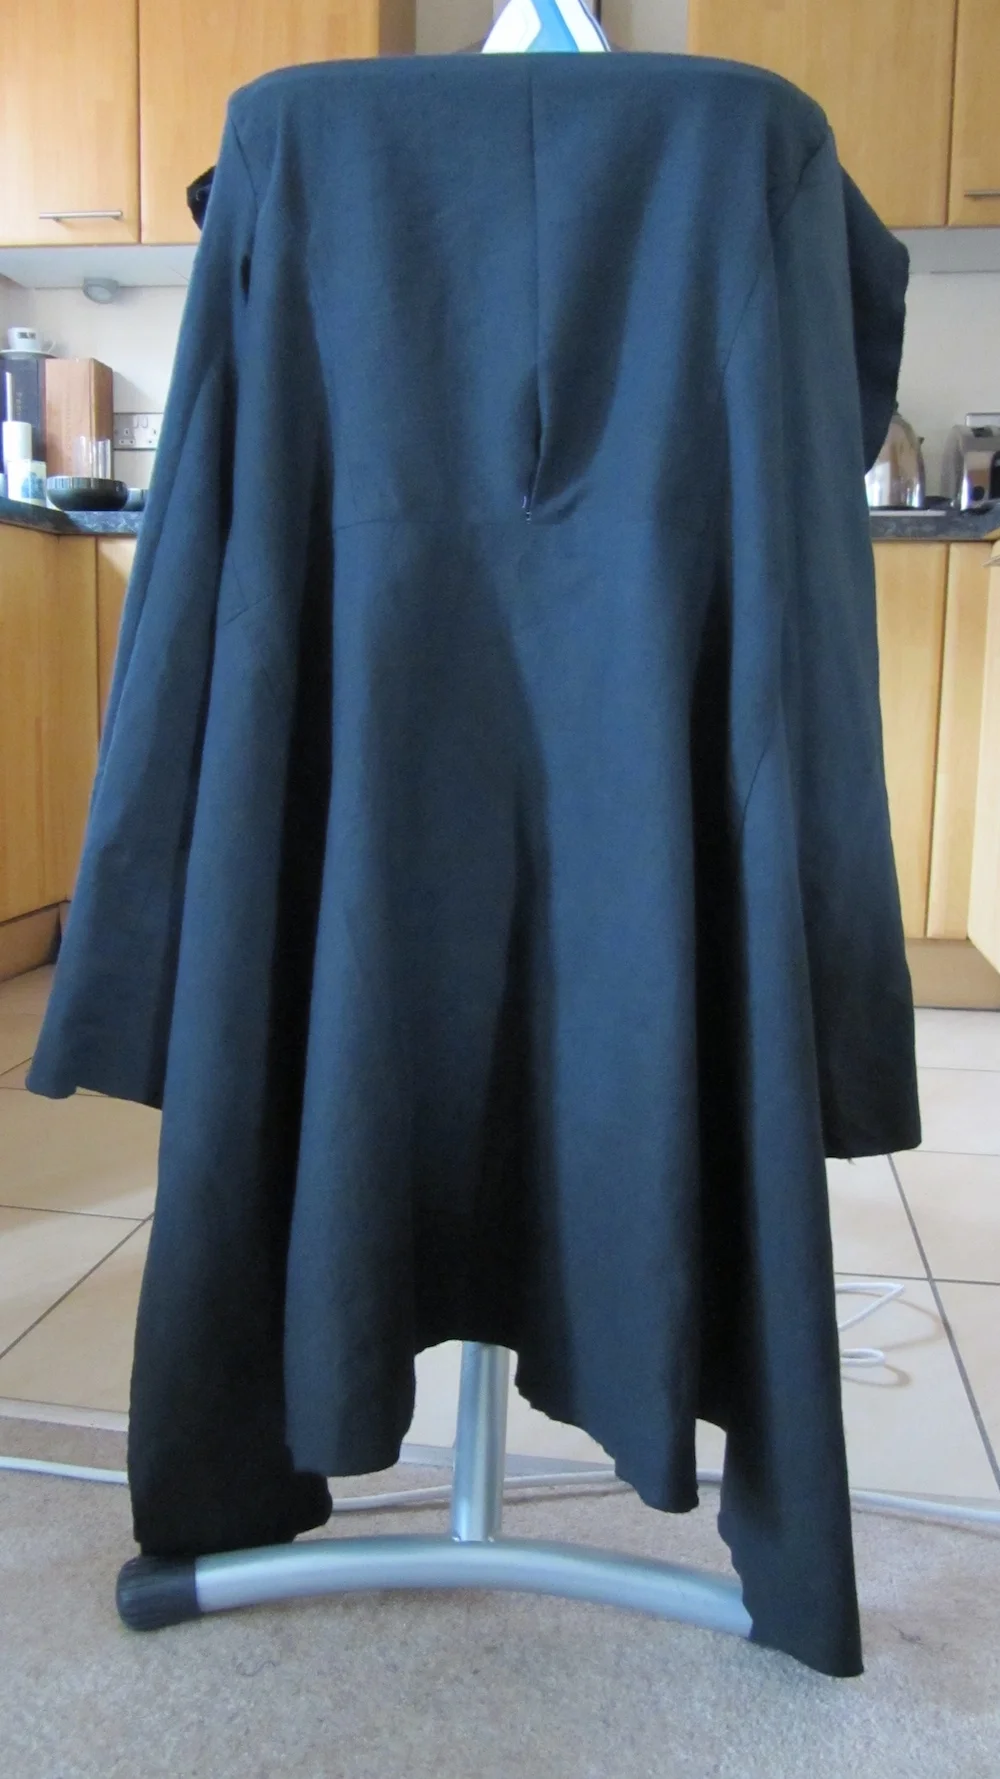
It was then time to attach the lining to the collar and shoulder areas. I had to fudge this area as I couldn't work out how to attach the lining to the collar without taking it apart. Instead I pressed under the seam allowance and lined it up with the stitches and sewed it into place. I then hand stitched the lining to the cuffs and finally sewed the the body hem. And this is the finished result.
I'm really pleased with it although I do miss the shine of the original lining. I swapped 100% acetate for a cotton sateen which lost it shine in the dyeing process. However, it fits well and I can pull the coat on and off without difficulty.
Will I do this again? Hopefully not in the immediate future as this took a long time. Saying that, Adam has a couple of jackets that need the sleeve lining replaced and I have another request to line an unlined jacket so it might be sooner than rather than later!
